
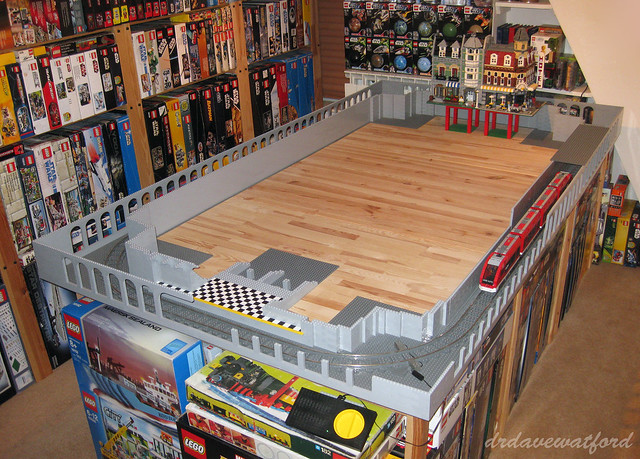
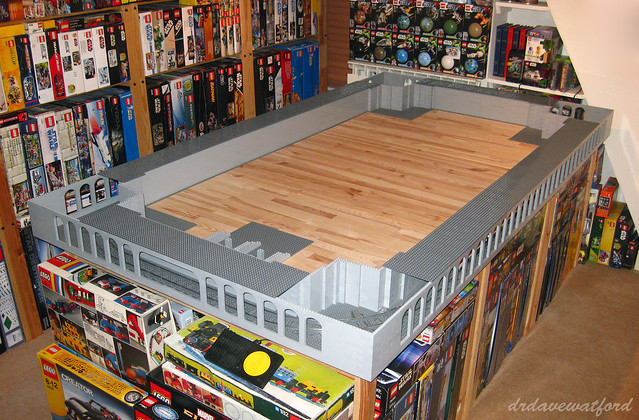
At the time of my most recent update (here) I'd pretty much completed the walls of the lower level of the layout (picture above) with only the front right section of wall needing to be finished off. This was therefore the obvious place to jump back in, and as you can see from the pictures below I completed the straightforward job of building the walls of the front right section up to the required height fairly quickly.
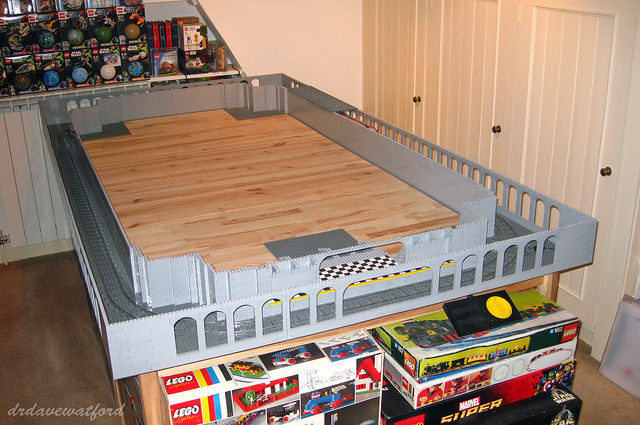
Having reached this point in the build I figured that it would be as good a time as any to briefly pause and take stock of my parts usage to date. According to the original rough sketch I put together on LDD which I've followed reasonably closely, I've used around 500 light bley 1 x 1 bricks, 670 light bley 1 x 2 bricks, 240 light bley 1 x 4 bricks, 800 light bley 1 x 6 bricks and 810 light bley 1 x 8 bricks so far; the total part count currently stands at approximately 5,600 bricks, which seems a lot given how little there is to look at yet....
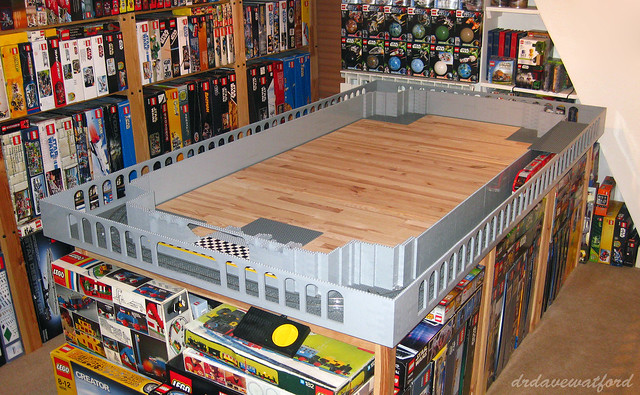
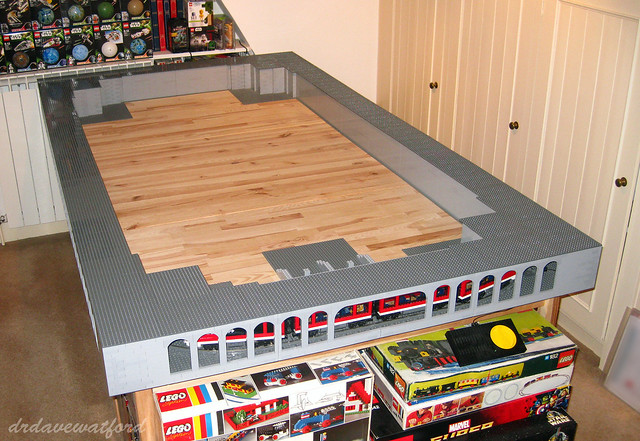
Having completed the walls of the lower level it was time to finish the job of enclosing the lower track loop by building a roof over the top of it; for those of you unfamiliar with the intended design, the roof over the lower track loop will form the floor of the planned upper track loop, thus providing a double-decker arrangement.
Covering the straight sections of track with a sturdy roof (pictures above and below) was a quick and simple task - the roof over these sections only has to span 15 studs so I was able to efficiently complete the job using a combination of dark bley 6 x 16 and 2 x 16 plates. The only real discomfort was financial - the 96 dark bley 6 x 16 plates needed to cover just the straight track sections alone don't exactly come cheap....
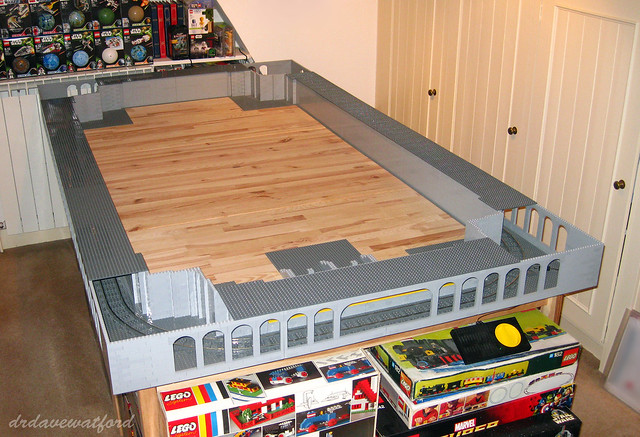
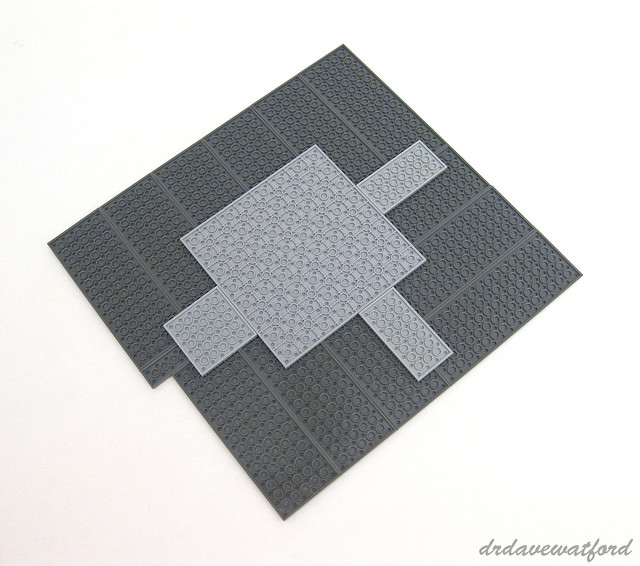
Although putting a roof over the straight track sections was simple enough, the corners required a little more thought as covering the curved track sections would necessitate spanning an area 34 studs square. My first thought was to use a 32 x 32 baseplate for each corner and support it at the edges, but because I wanted the corner roof sections to be at the same height as the straight roof sections this wasn't really viable. I therefore needed to use standard plates, but there obviously aren't any plates remotely large enough to span a 34 x 34 area on their own. I consequently needed to come up with a 'mosaic' of plates which would cover the area while providing at least a modicum of structural rigidity so that the roof wouldn't cave in under the slightest pressure. In the end I went with the arrangement below; the dark bley roof sections, again predominantly a combination of 6 x 16 and 2 x 16 plates, are supported underneath by a light bley 16 x 16 plate and a few smaller plates. The use of the large 16 x 16 plate turned out to be key, conferring an unexpectedly high degree of strength and rigidity.
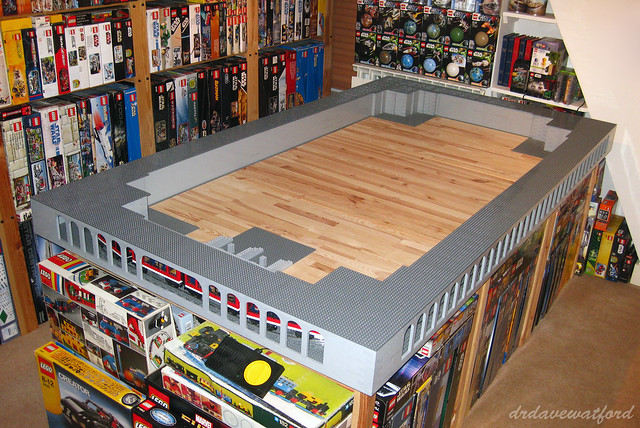
It didn't take long to construct three more assemblies similar to the one above, and you can see the layout with all four corner roof sections in place in the pictures below. Time will tell whether this corner roof arrangement will prove to be sufficiently robust; a section of curved track will run over each corner, so the roof will need to support the weight of trains running over it, not to mention me accidentally leaning on it now and again.... Having tested the corner roof sections under modest weight-bearing, however, the early signs are that they'll do the job OK.
So that's the visible part of the lower level now pretty much done apart from the subway station, then. I still of course need to build the structures which will support the upper level, though, and I also need to figure out a way of rescuing stricken trains from the lower loop in the event of a breakdown; at present I can access the subway train through the arches, and the large opening in front of the subway platform is just about big enough to squeeze the train through when I need to remove it, but it's fiddly and not ideal.
Because I designed the lower level such a long time ago, I've predictably come up with a whole bunch of new ideas during the intervening period to tweak and potentially improve it. I'm going to do my best to keep a lid on those tweaks for now, though - having already taken the best part of 4 years just to get to this point it's high time I moved on, put the lower level to bed for the time being at least, and started to focus on the upper level so that's what I'm going to do.
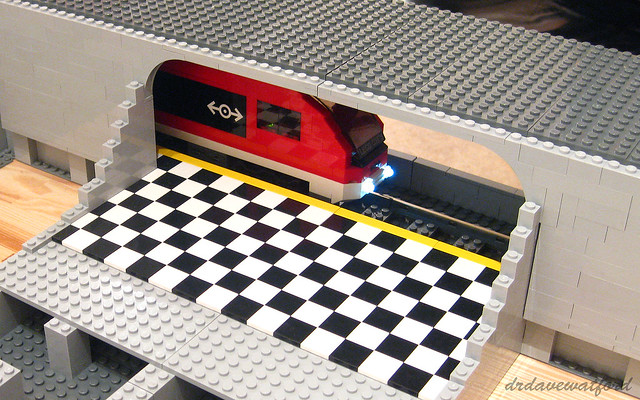
With the lower track loop now fully enclosed I figured it was high time to power up the track and get the subway train running. You can see a brief video clip below of my modified 7938 Passenger Train running around the lower track loop at about 2/3 speed; click here to view the clip on YouTube if you can't access the embedded video on your device.
Glad to see you getting back to this again, Dave!
ReplyDeleteAlso nice to see you 'getting cracking' with it ... keep it up ... I'm still waiting to see how it turns out!
I'd definitely solve the rain access problem before going any further though ... how about
(1) 'pop out' panels on the sides, in the same way they did it as a play feature in some sets (cant think which ones off the top of my head),
(2) pop off tops of the tunnels like you get on train carraiges, positioned in areas where you have a park/ road junction etc
(3) hinged panels in the arches if the pop out idea doesnt work
Cheers, Si - I'm thinking in terms of a pop-out access panel along one of the sides. It shouldn't be too hard to implement.
DeleteWhen a homeowner is ready for a new roof, there are several things to consider. These include selecting a roofing and siding winnepeg contractor, deciding on accessories and products, and choosing the color and style.
ReplyDelete